


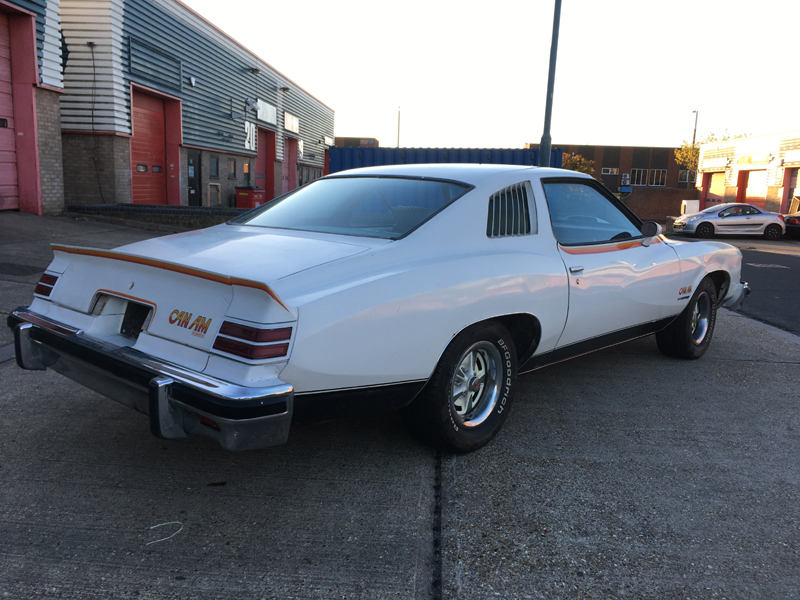
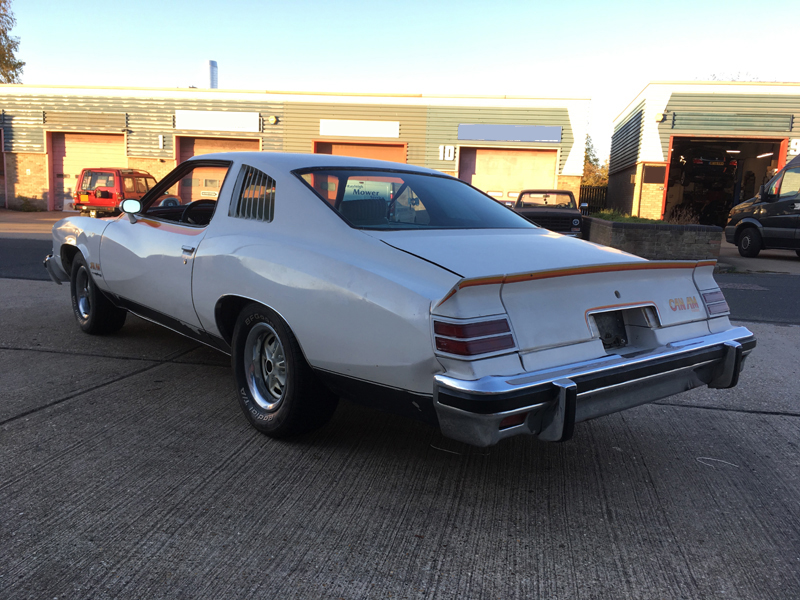
1977 Pontiac Can Am
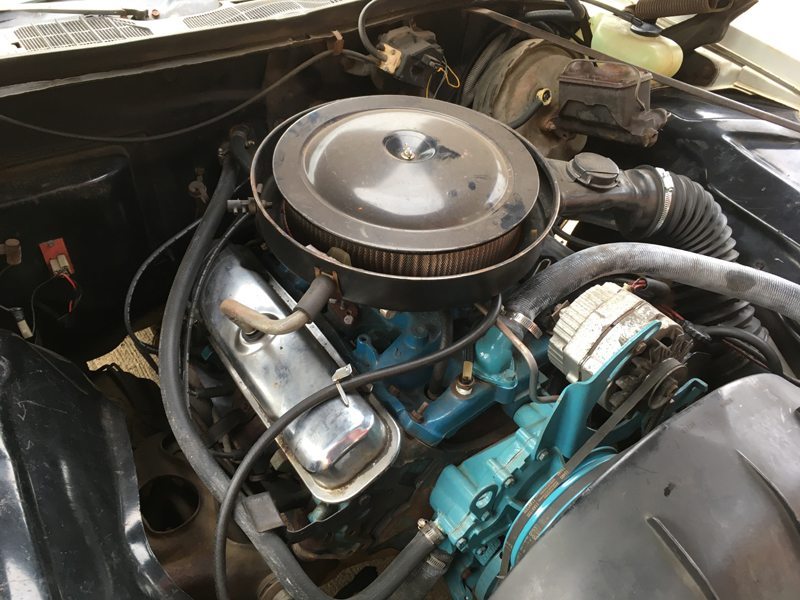
This 1977 Pontiac Can Am came into us as a car that had just been imported into the country and not registered in the UK yet but had blown head gaskets. We were tasked with replacing the head gaskets, along with giving the engine a tidy up, converting all of the lights to UK spec, fixing a few other things on the car and getting it through an MOT test so that it could be registered: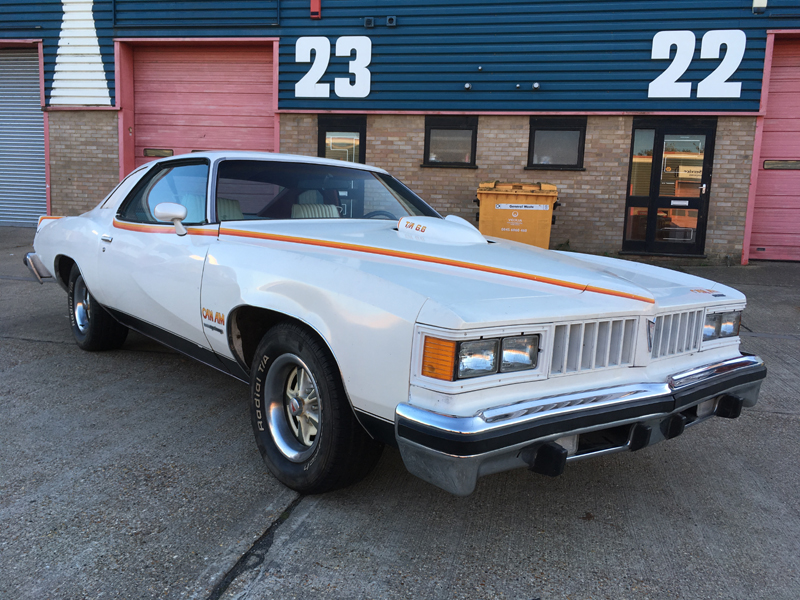

Someone had already replaced the water pump and timing cover along with painting them and the pulleys but the engine was loosing water as fast as we could pour it into the radiator but it wasn't leaking, it was coming straight out the exhaust pipes:
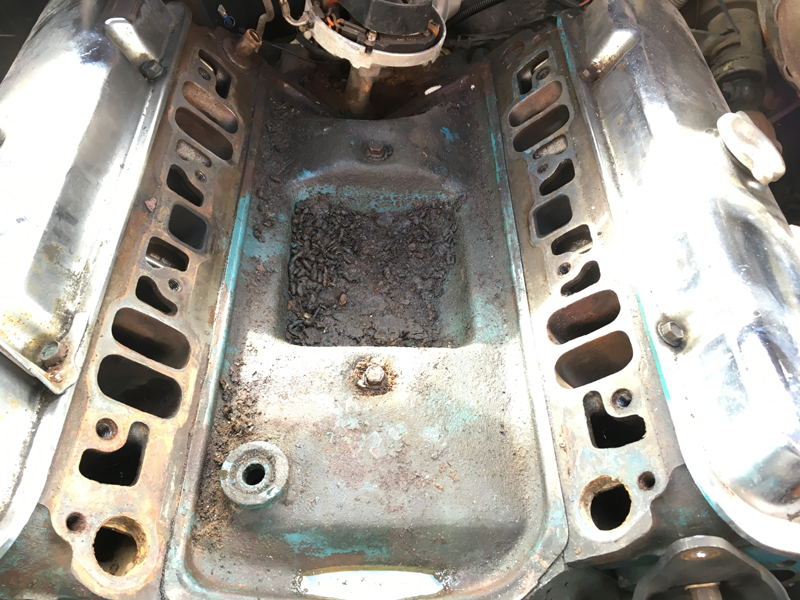
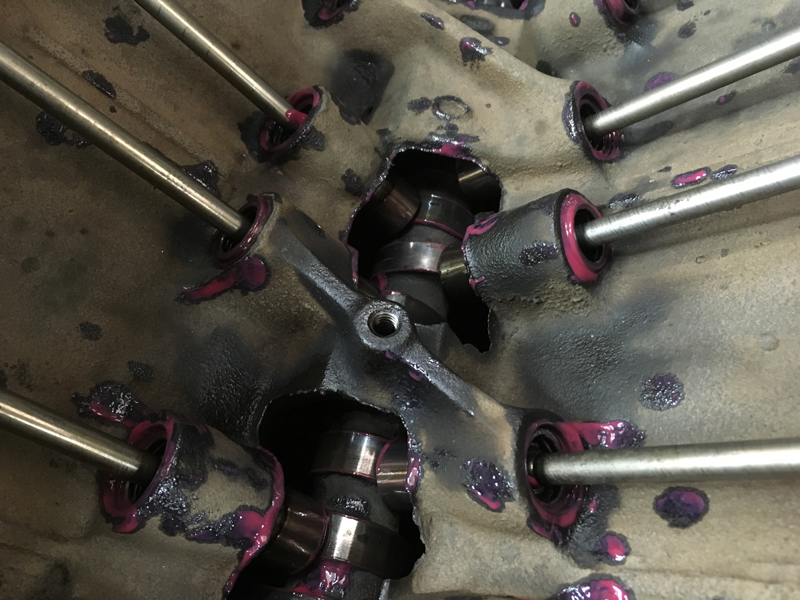
Upon removing the intake manifold we found mouse droppings all over the valley pan. Fortunately we found no more signs of any mice so we think they had moved on a while ago:
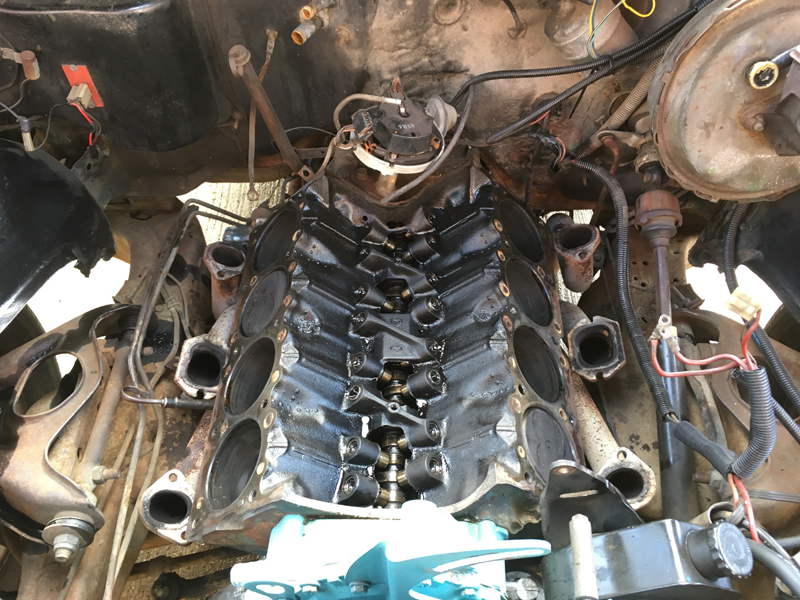
We got both heads of and inspected the block and tops of pistons, there were no signs of any damage to the engine itself and put the burning coolant down to the head gaskets having failed:
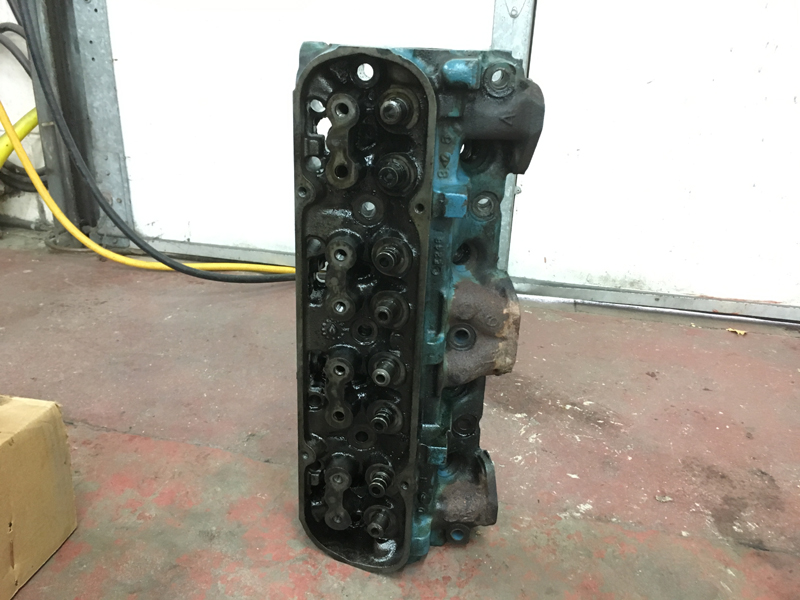
The owner of the car had asked up to give all the parts we removed a good clean and de-grease along with strip the heads and replace the valve stem seals while they were off the car:
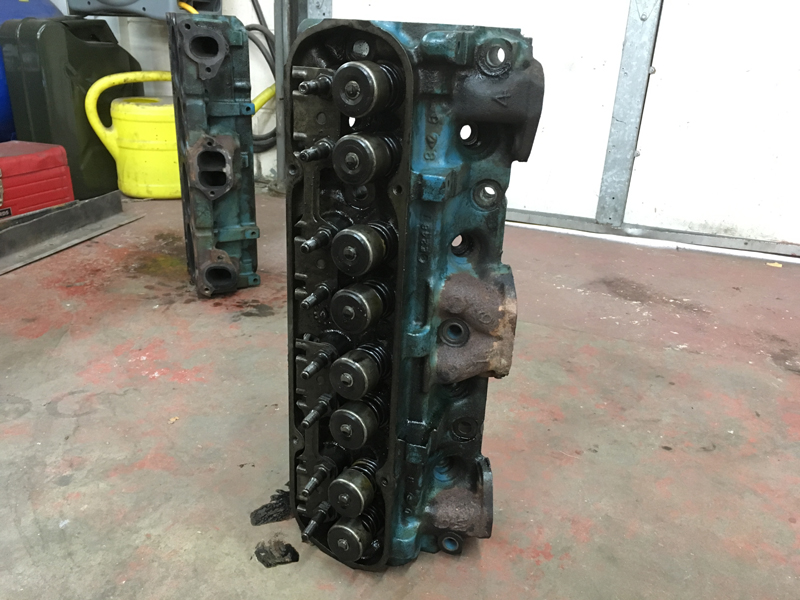
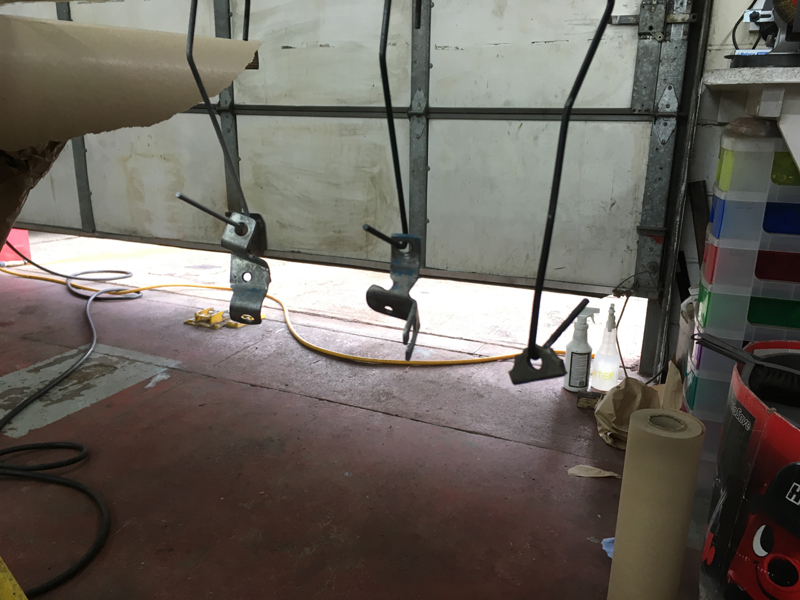
We got the heads stripped ready for a clean up:
Then moved onto the intake manifold:
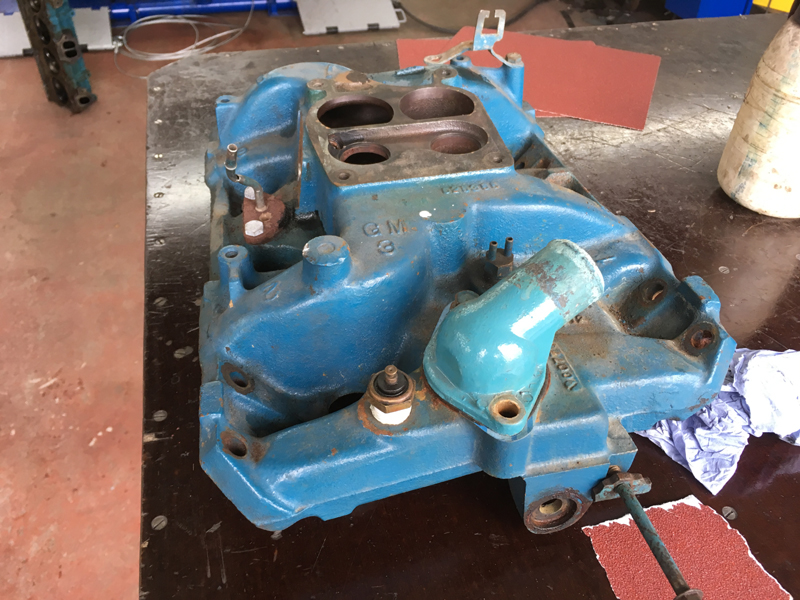
The choke tube set up was broken and not being used:
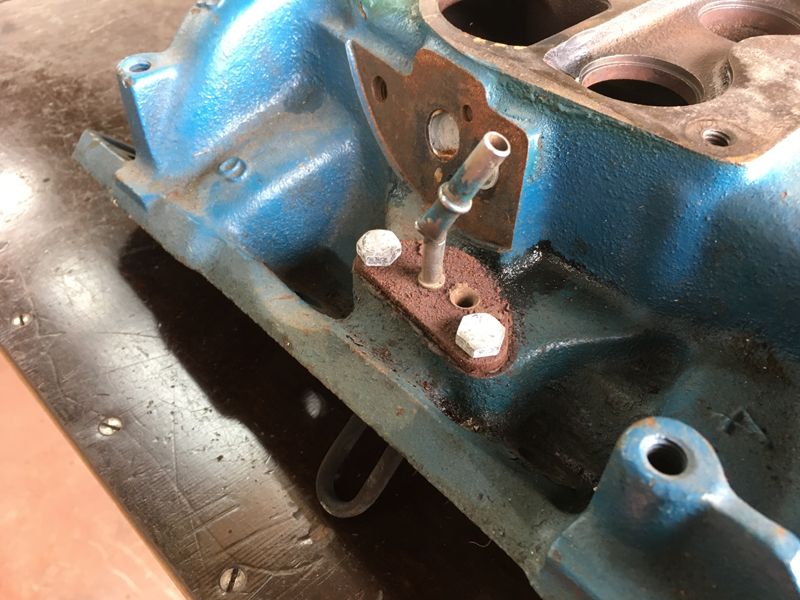
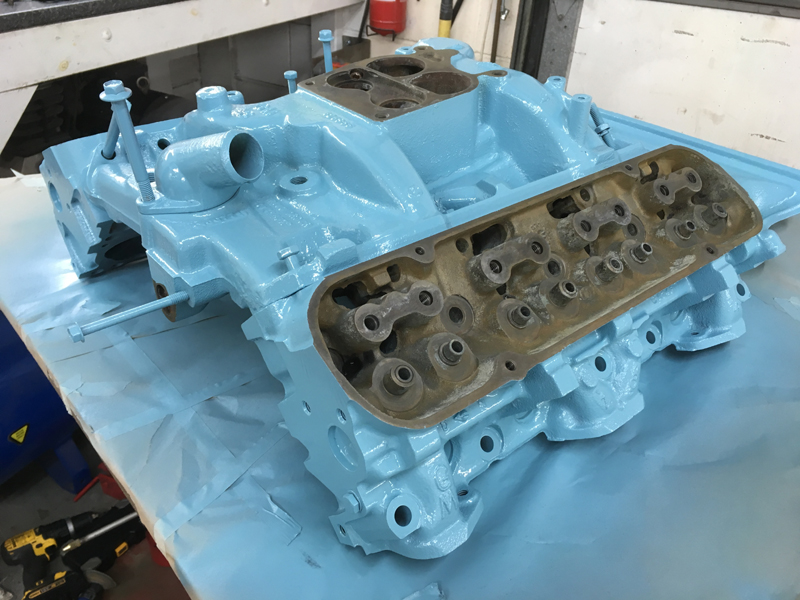
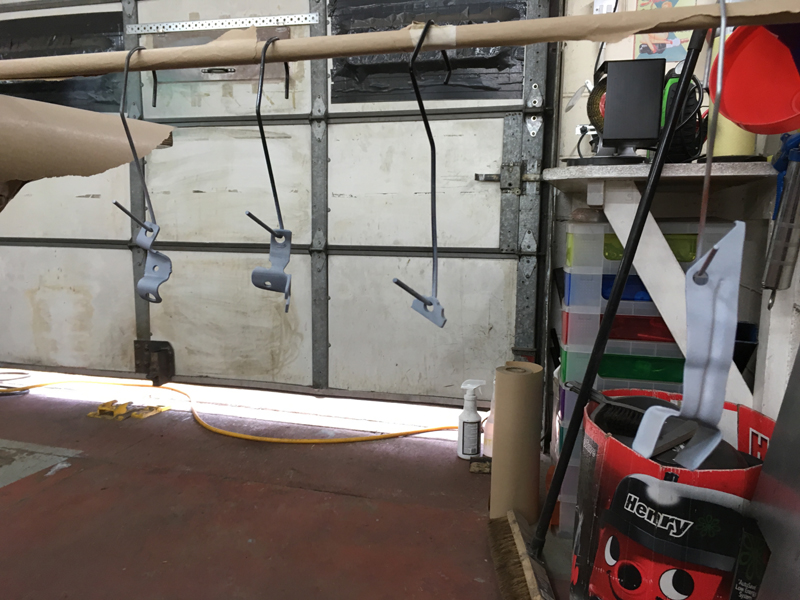
So we removed it and fabricated a blanking plate for it. Then after giving the intake and heads a de-grease, picked off all the loose paint and gave the hole lot a sanding down and masked up the gasket faces ready for the new paint to go on:
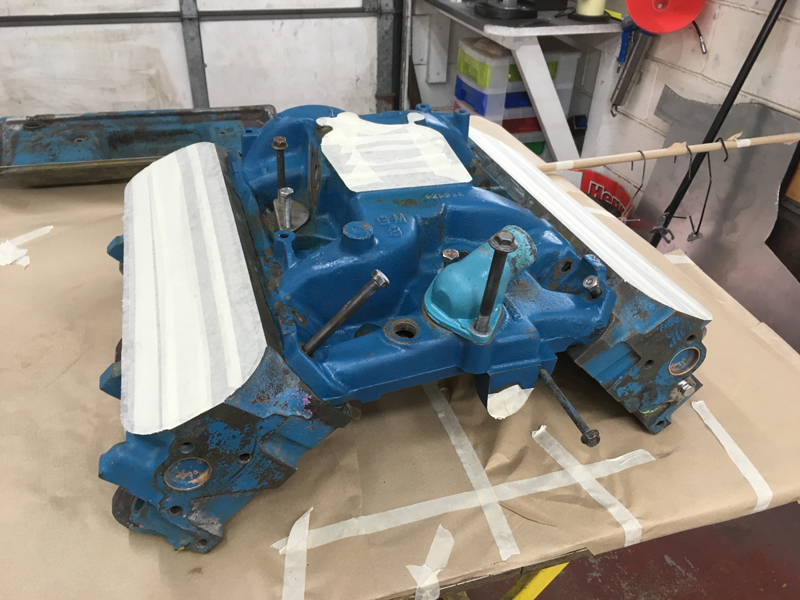
First we applied the primer:

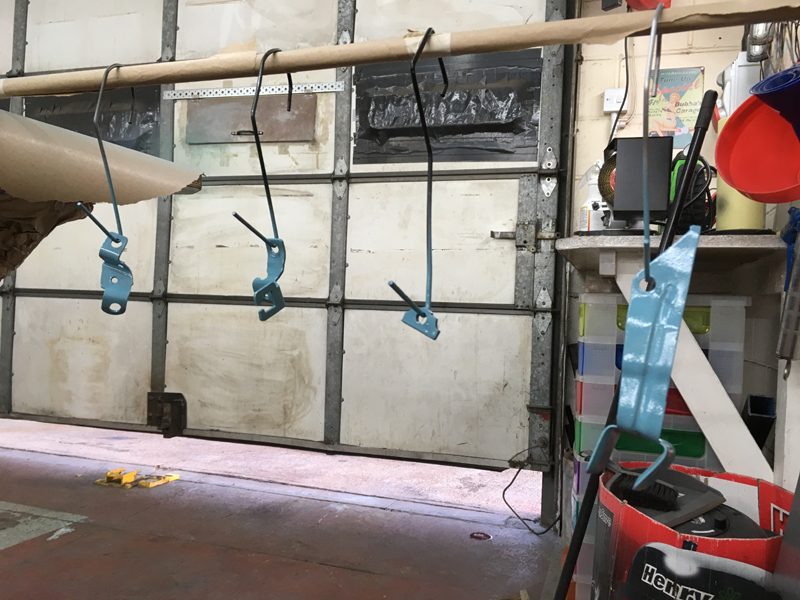
Followed by the correct colour Pontiac blue engine enamel for this year model:
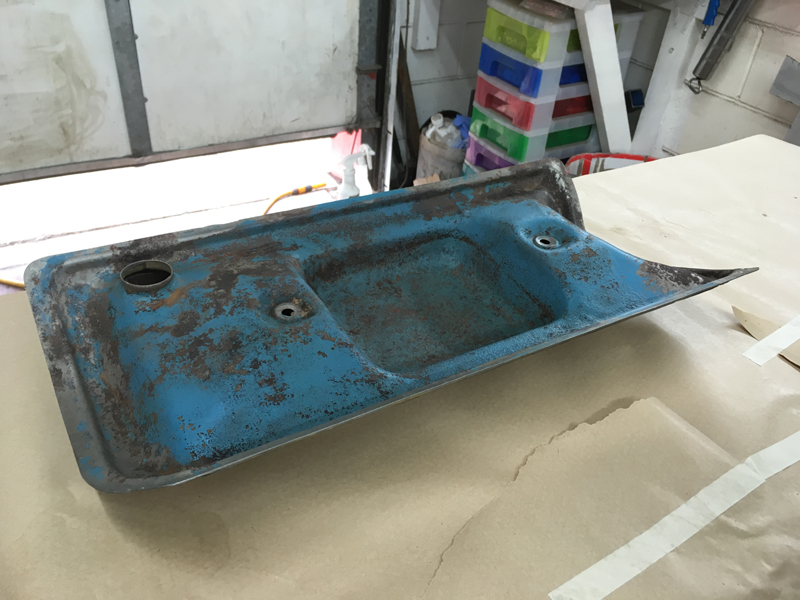
We did the same for the valley pan, a good clean and de-grease and remove the flaky paint:
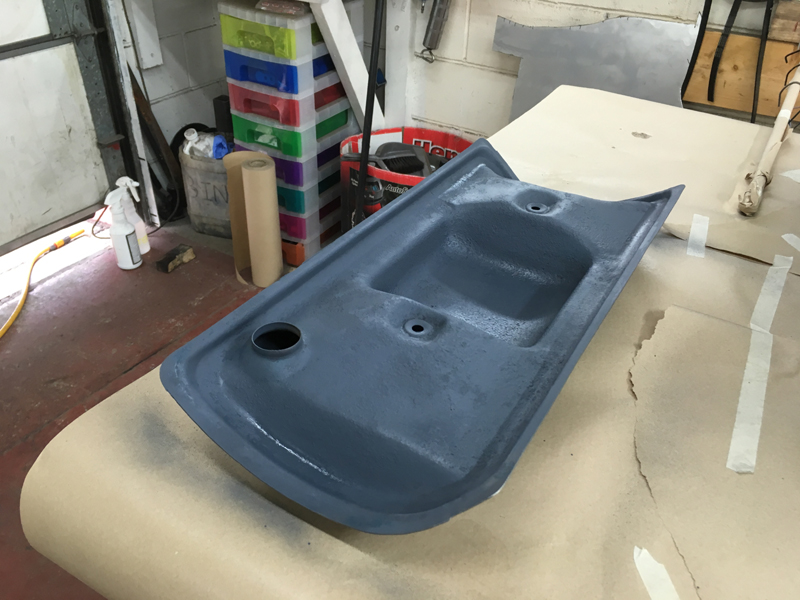
Followed by primer:
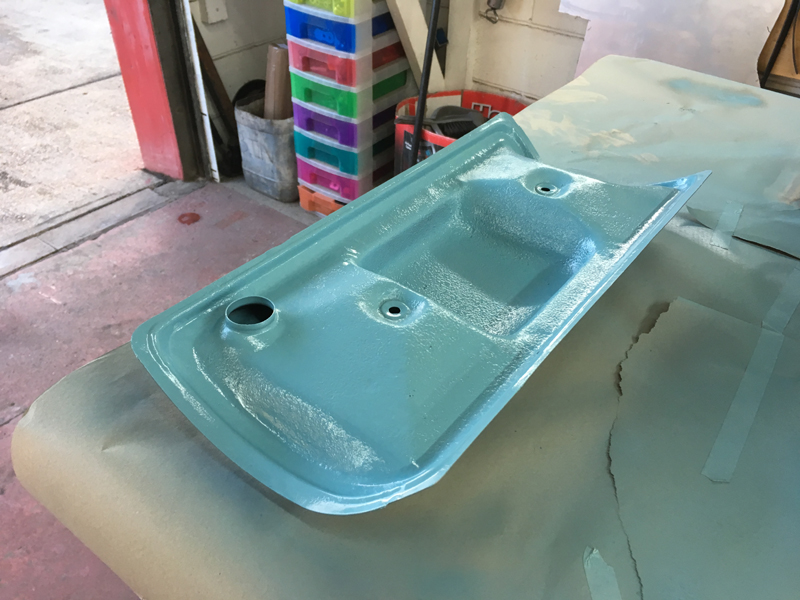
Then colour:
And again the same process for the little brackets that we took of the engine:
Primer:
And finally paint:
Next we cleaned up all the gasket faces on the engine block and exhaust manifolds and gave the entire engine bay and engine a good de-grease:

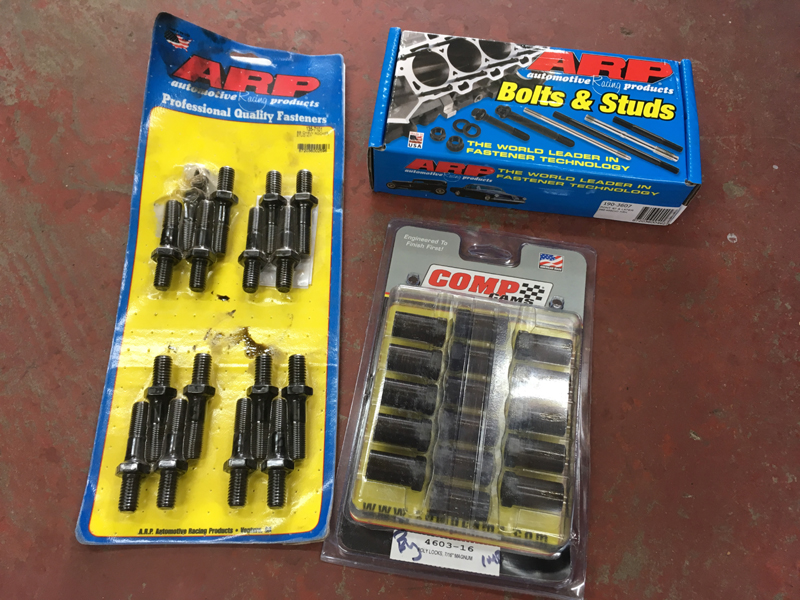
We had ARP cylinder head bolts and rocker studs along with Comp Cams poly locks for securing the rocker arms to go back onto the engine:
We pulled the hydraulic lifters out from the engine and coverd them in engine assembly paste so that when we fire the engine back up they won't be moving about dry:
With the cylinder heads bolted back on, we installed the pushrods and rocker arms:
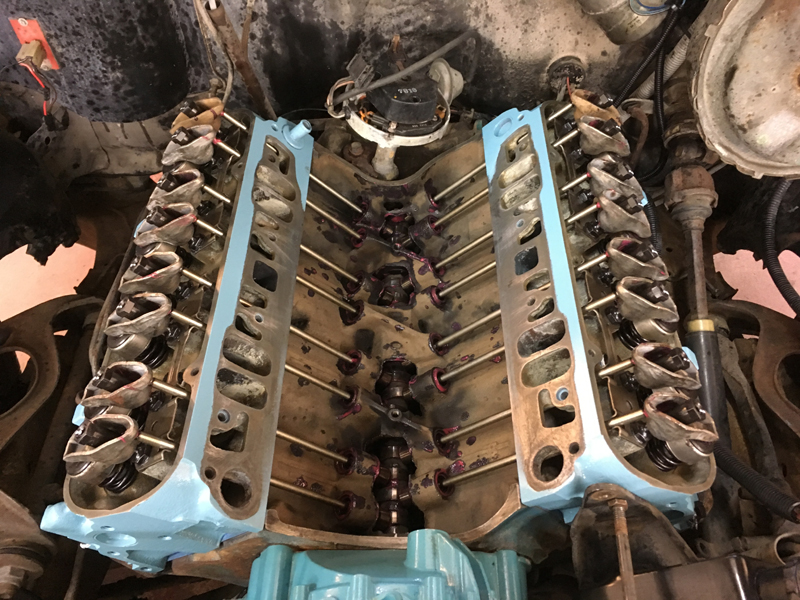
Then 1 by 1 we set the valve lash for each valve, marking each one as we went along so that we knew it was done:

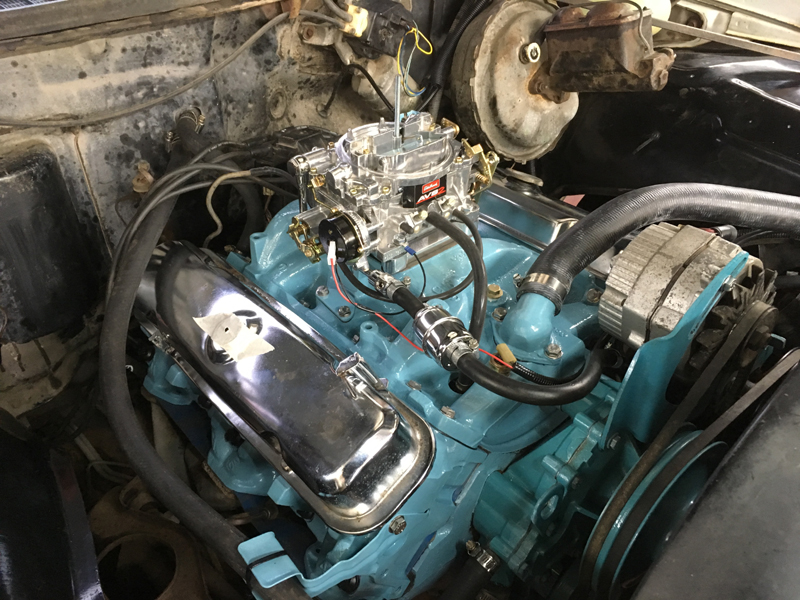
With the rest of the engine now back together we could move onto the carburetor. The original carburetor had been messed with quite a bit and there were linkages missing and bits of it loose and worn. We replaced the original with a new Edelbrock AVS 2 set up:
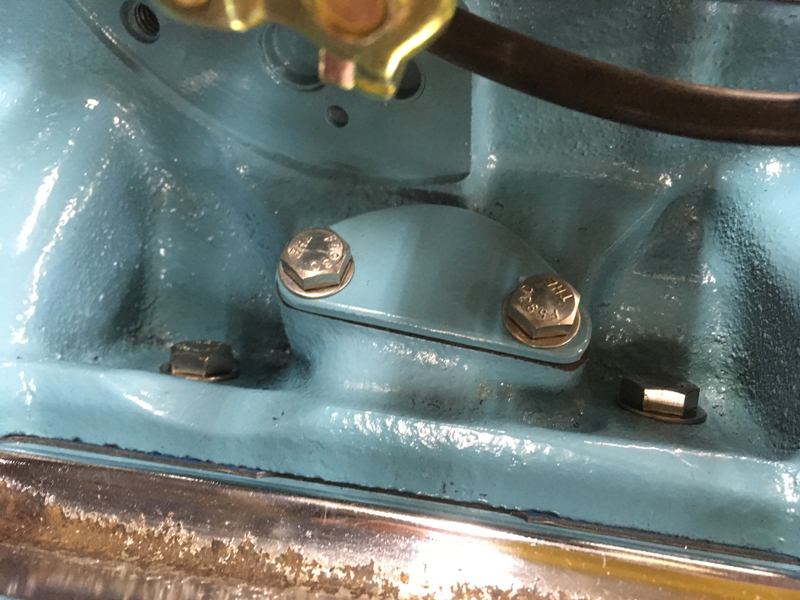
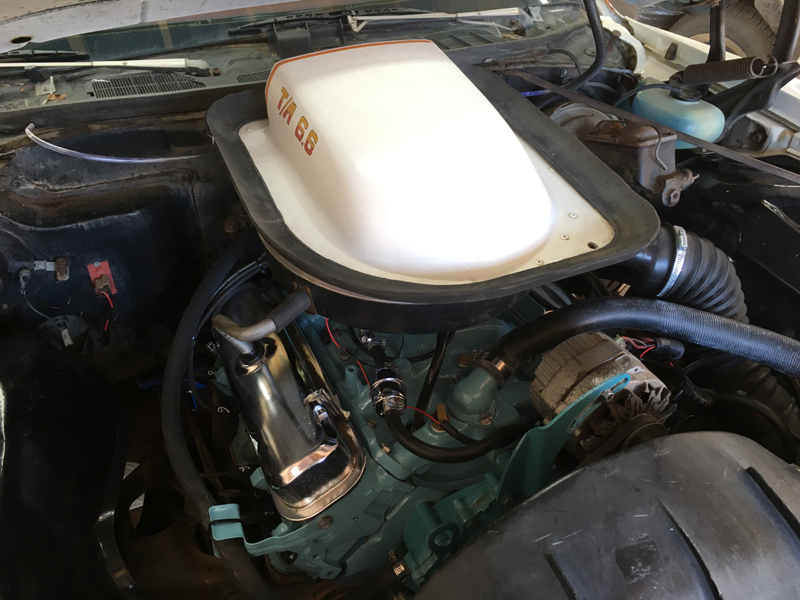
Whilst re-assembling the engine we used stainless steel fasteners as much as we could to keep the engine looking clean and fresh, zinc plated mild steel fasteners just go dull and rusty in a matter of months in an engine bay:
The new carburetor requried some modifications to the throttle linkage to be carried out, so we had to cut up the original bracket and re-design it:
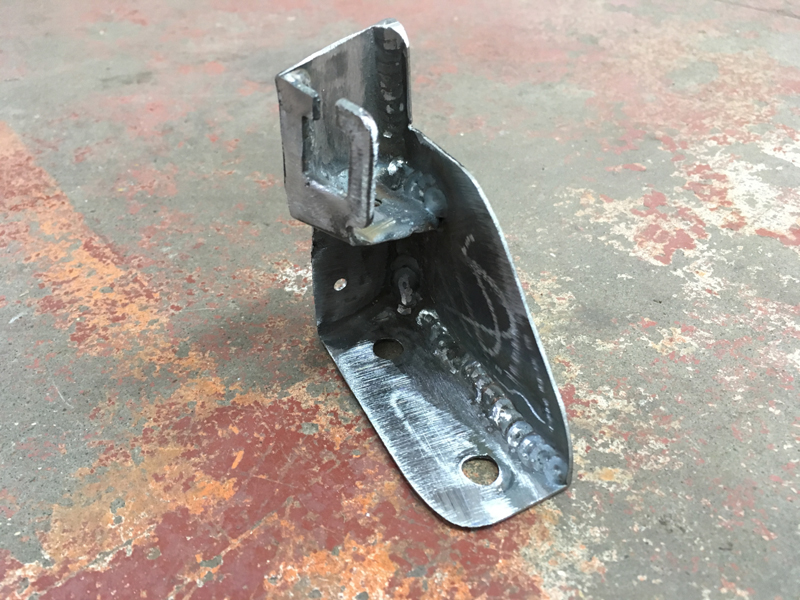
Once finished, we painted it to match the rest of the engine and then bolted it on:
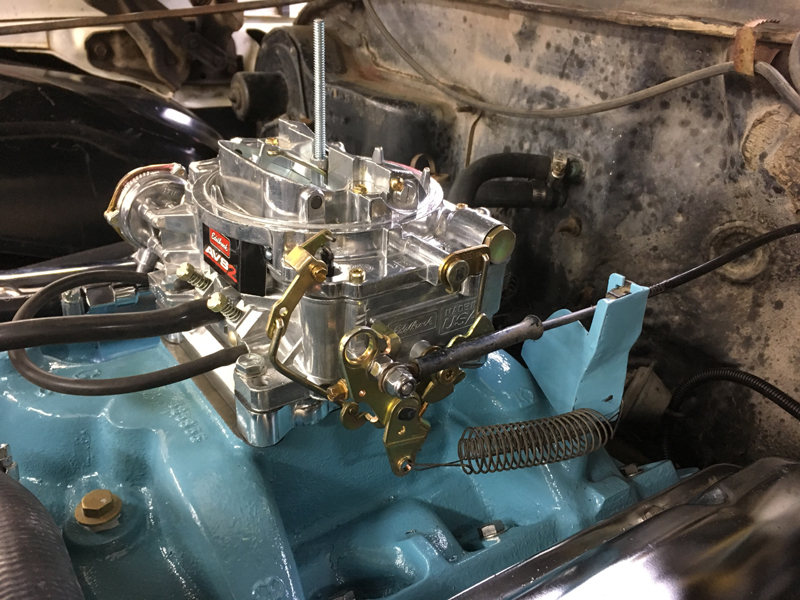
Then we finished getting the rest of the engine back together and fired it up, set the ignition timing and tuned the carburetor:
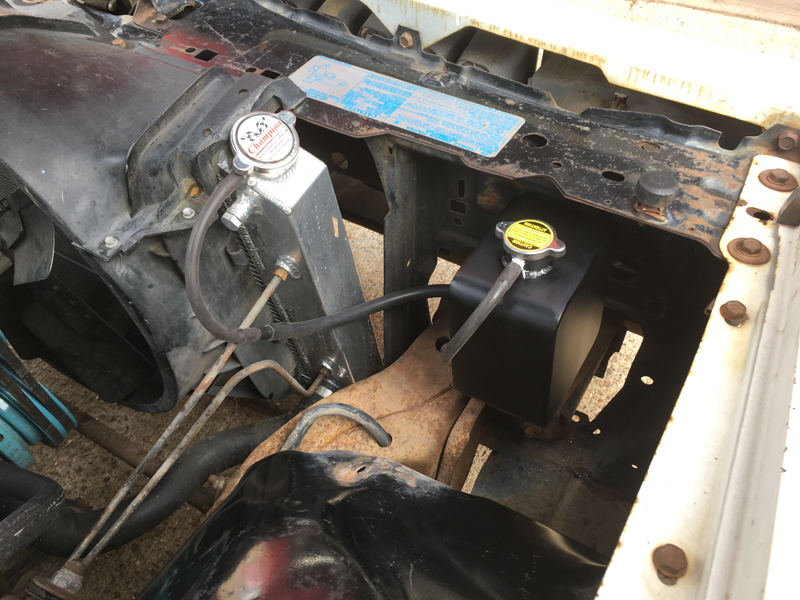
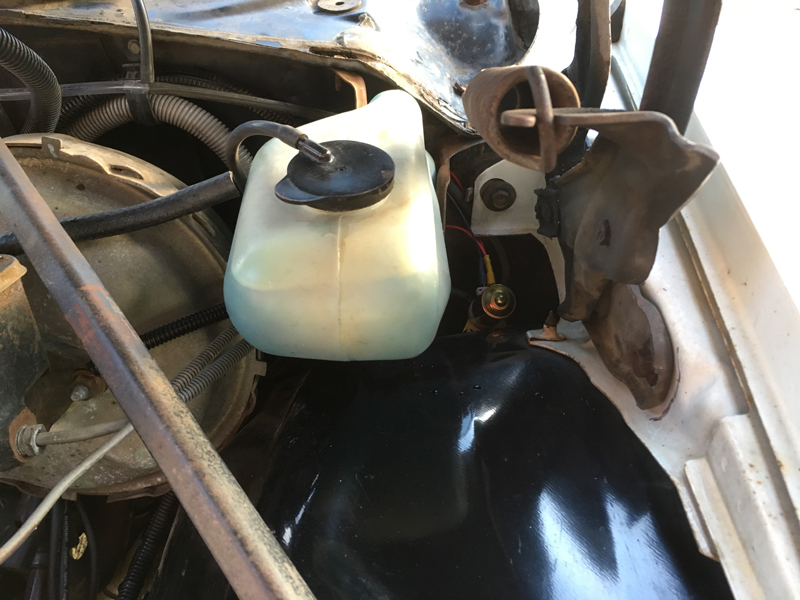
The original coolant overflow tank is made of plastic and had a crack in it:
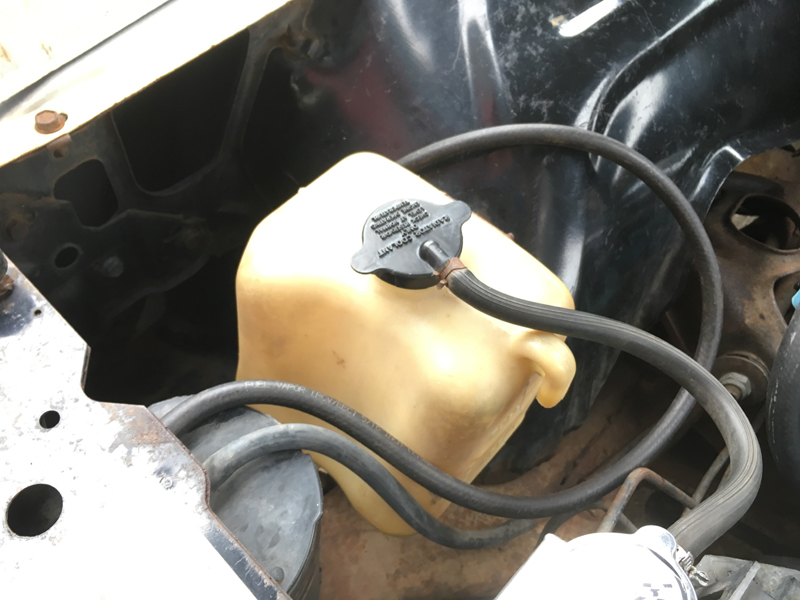
So we replaced it with an aftermarket aluminium one:
The factory screen wash set up on all of these 60's-70's GM cars uses a vacuum pump built into the windscreen wiper motor that pulls and pushes the screen wash from the bottle to the jets, these pumps are known for being tempermental and causing problems:
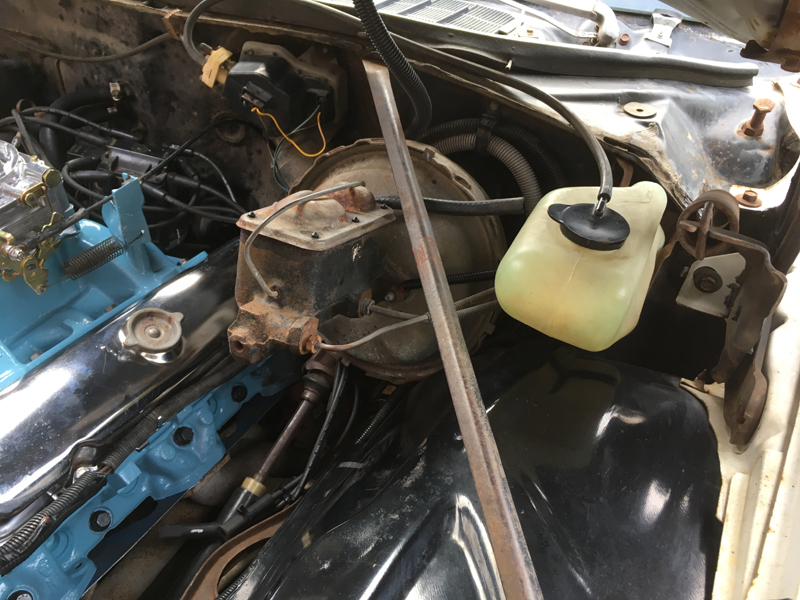
Rather than replace the expensive wiper motor which is still opperating the wipers correctly, we opted to fit a cheap, simple electric windscreen washer pump out of sight next to the washer bottle:
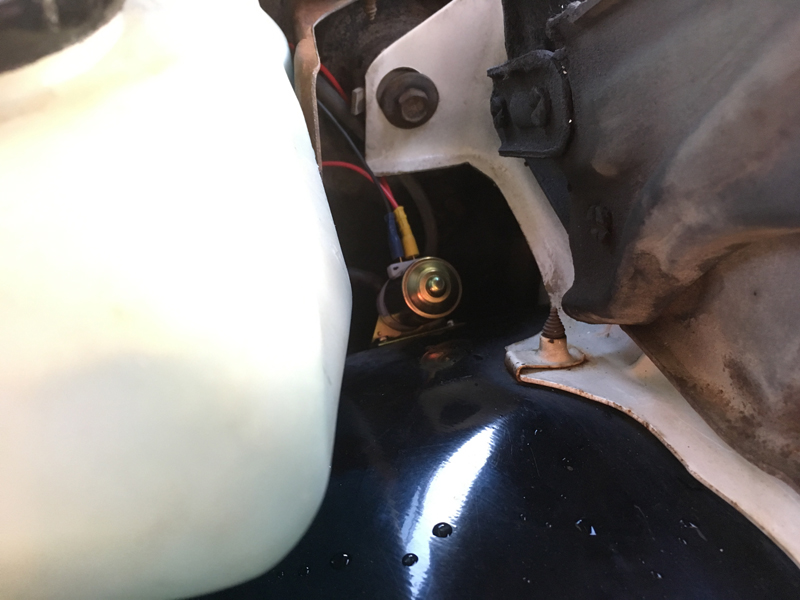
To the un-trained eye you wouldn't notice that the pump isn't a factory item. We hooked up new screen wash piping and filled the washer bottle with fresh fluid. Best of all the windscreen washers still work from the original wiper switch in the car, meaning no additional switches needed to be installed in the dashboard:
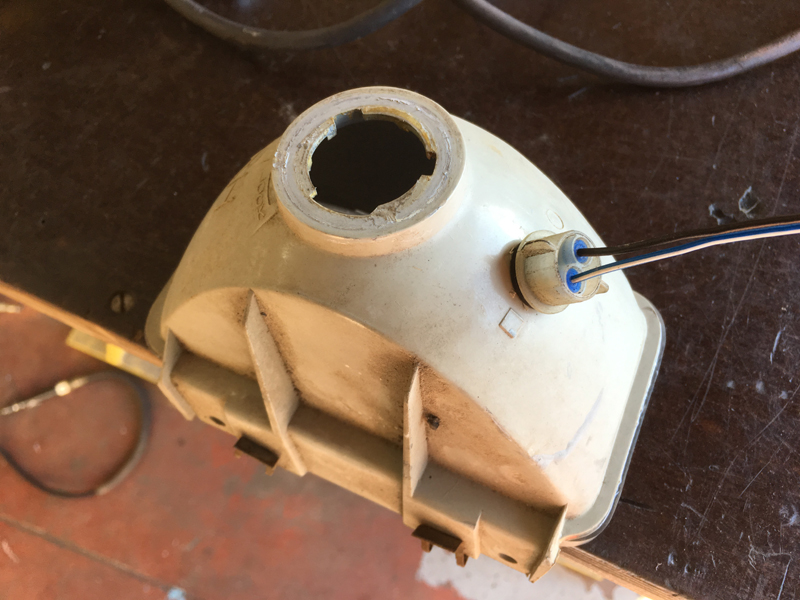
Next we had to convert the lights to UK spec, with the rear lights we just converted the reverse lights to amber coloured bulbs and re-wired the rear lights so that the reverse light flash when you indicate and the that the brake lights dont cut out. With the fronts, the front sidelight was allready an amber bulb which was also the front indicator but we needed a white front sidelight:
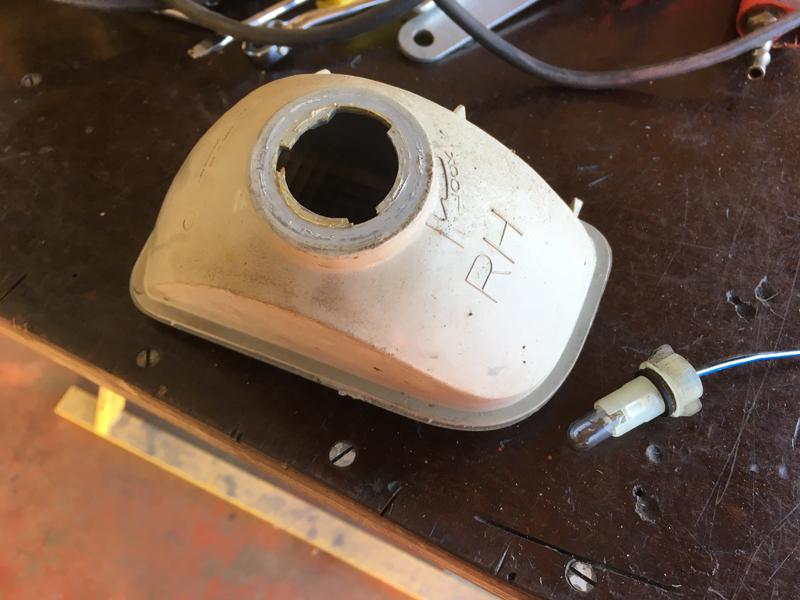
So we picked up some small bulb holders and fitted them into the front lamps then re-wired the front sidelights to come on with these little bulbs insted of the original amber bulbs, meaning the front sidelights are now white and the front indicators are amber:
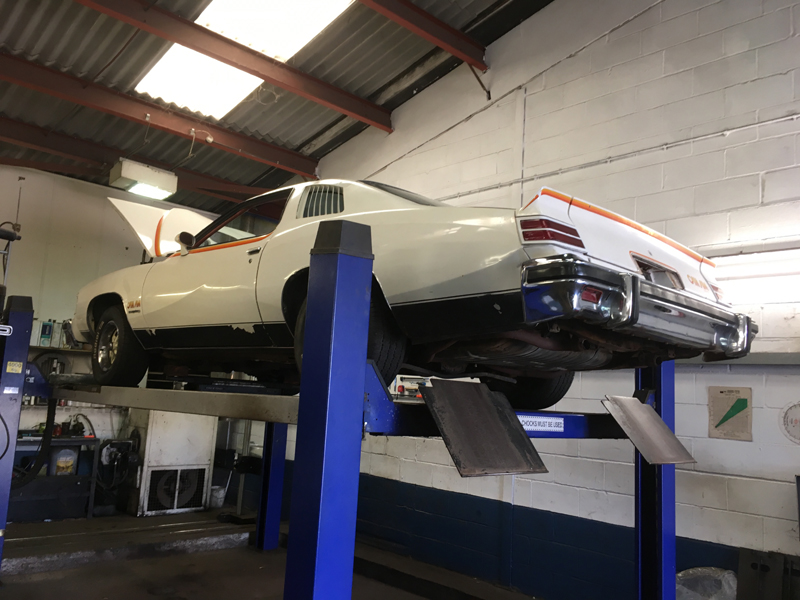
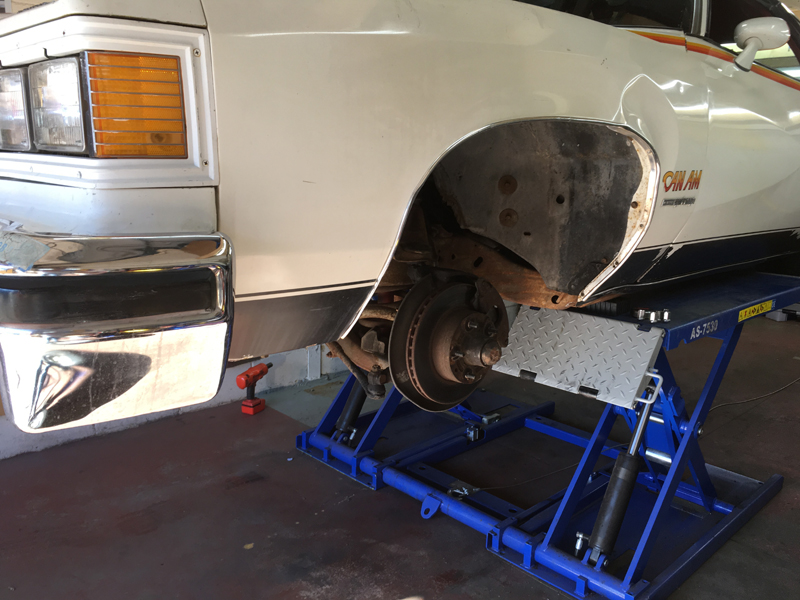
Next we got the car up on the ramp to give it a good check over for the MOT that was booked:
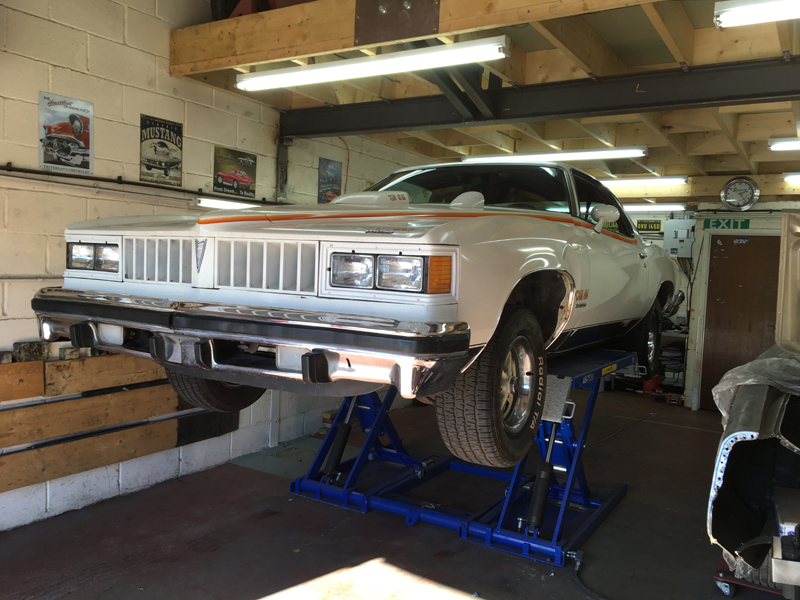
We had the wheels off and checked and adjusted all the brakes, greased all the steering and suspension joints and just gave the car a real good check over:
Then put the car through its MOT test, which it passed with flying colours. The owner has since gotten the car registered and is very happy with the car: